Odak modu
Node.js
Mingo Kurulumu
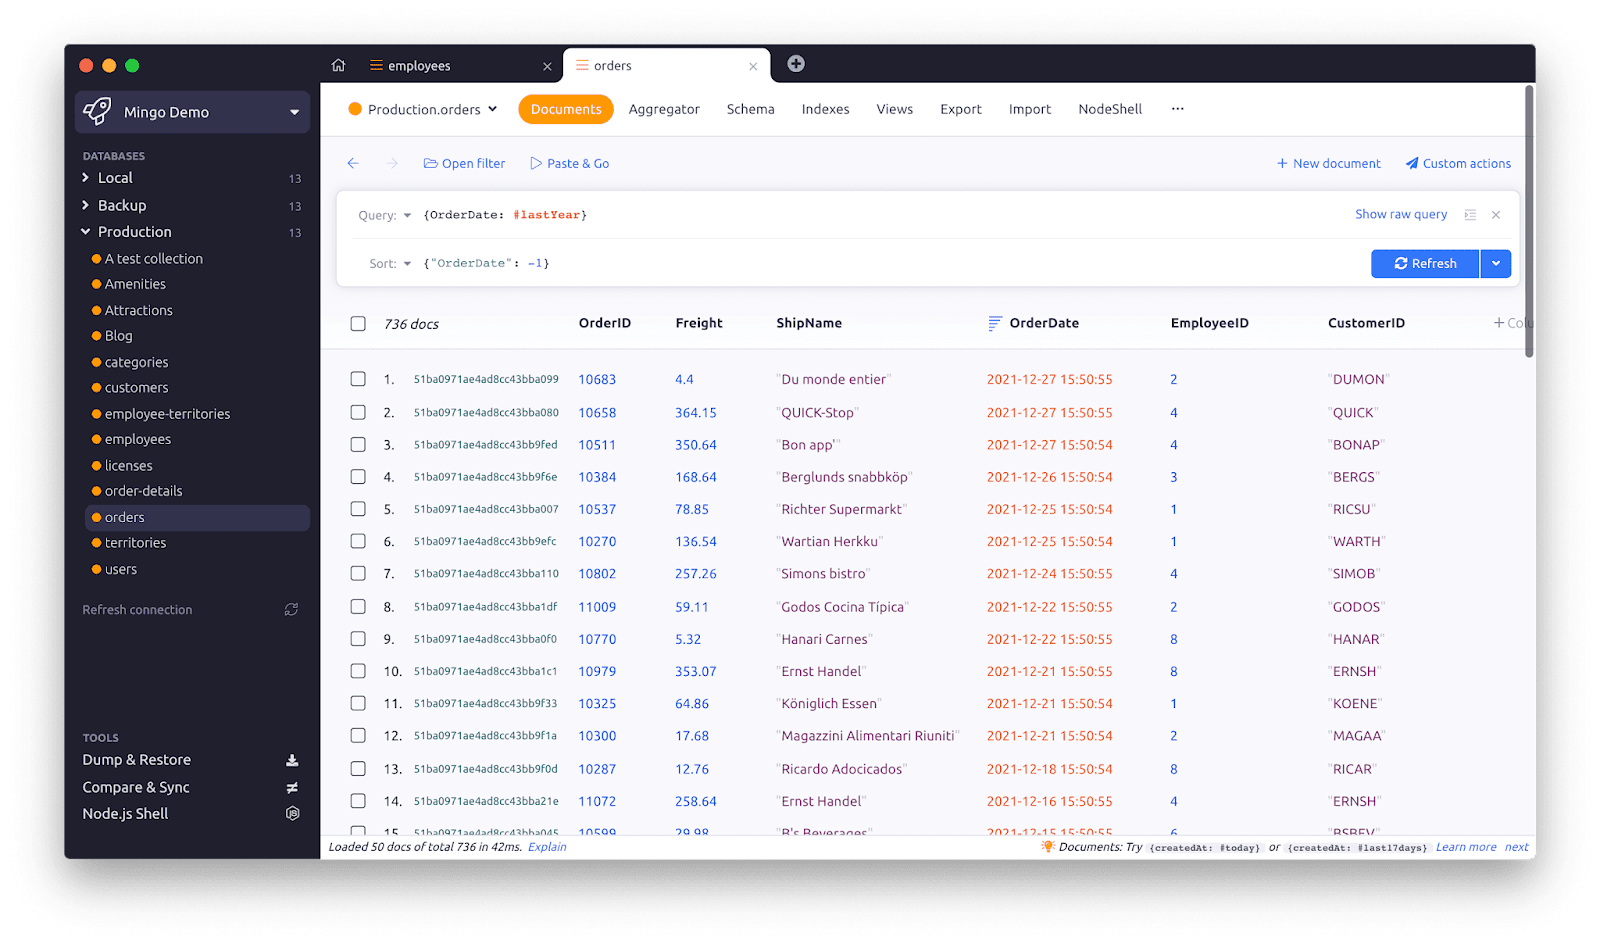
We understand the importance of mastering MongoDB database management. That's why we'd like to introduce you to Mingo, a user-friendly MongoDB GUI.
Mingo is designed with a graphical interface that simplifies database operations. It allows you to manage your database, create collections, and perform data-related tasks such as adding, updating, and deleting data with just a few clicks.
Here are the basic steps to get started with Mingo:
Step 1: Install and Launch Mingo
Begin by downloading Mingo from its official website https://mingo.io/download and installing it on your computer. Once installed, launch the Mingo application.
Step 2: Create a MongoDB Connection
When you open Mingo, you'll be prompted to create a new MongoDB connection. Enter the address of the MongoDB server and other required details to connect.
Step 3: Select Your Database
After successfully connecting, you'll see a list of available databases. Choose the database you wish to work with for your project.
Step 4: Collections and Data
Browse through the existing collections in the database. To work with a specific collection, select it, or create a new collection if needed.
Step 5: Data Operations
Thanks to Mingo's user-friendly interface, you can easily view, add, update, and delete data with ease. Efficiently manage your data with just a few clicks.
Feel free to explore more of Mingo's features through the interface and consult the official documentation for further information. https://mingo.io/docs/getting-started
We believe that MongoDB GUI Mingo will greatly enhance your database management experience. Best of luck and happy learning!
If you would like to purchase Mingo, use patika-50 at the check out to receive a 50% discount.
Yorumlar
Yorum yapabilmek için derse kayıt olmalısın!